Templates
Introduction
When converting HTML to PDF or a screenshot, the source parameter accepts one of three input types:
{
  "source": "[template:jlE-whg]",
  "templateData": {
    "customer_name": "Jane Smith",
    "invoice_total": 1320
  }
}
{
  "source": "<html><body><h1>Hello World</h1></body></html>"
}
{
  "source": "https://example.com/my-page"
}
Templates keep the HTML on the server, so your API call only sends the dynamic data. Raw HTML and URL are simpler: you provide the content directly in every API call.
Where to find the template ID: every template has a short ID. It is shown on the template's card on the Templates page of the dashboard, and the copy icon next to it copies the ID to your clipboard. To use the template, put the ID inside [template:...] and pass that as the source value. The ID jlE-whg shown below becomes "source": "[template:jlE-whg]".
When to use templates
Default vs User Templates
PolyDoc provides two categories of templates:
| Default (System) Templates | User Templates | |
|---|---|---|
| Provided by | PolyDoc | You |
| Editable | No (read-only) | Yes |
| Usable in API calls | No | Yes — via short ID |
| Stability | May be updated or removed | Stable — you control changes |
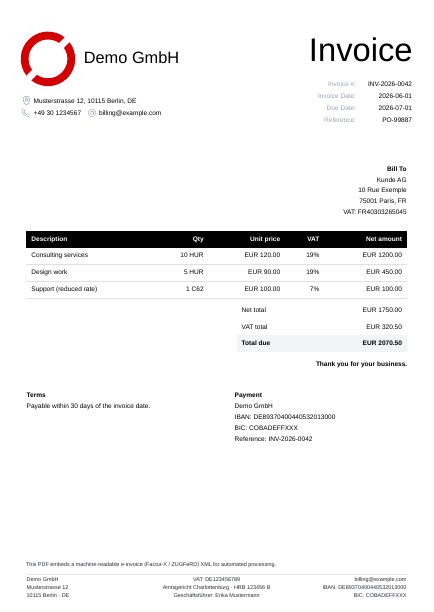
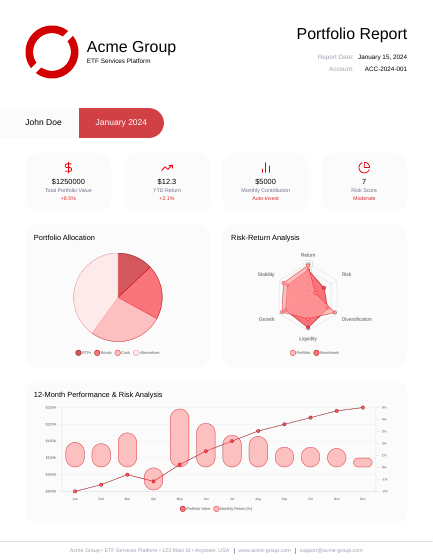
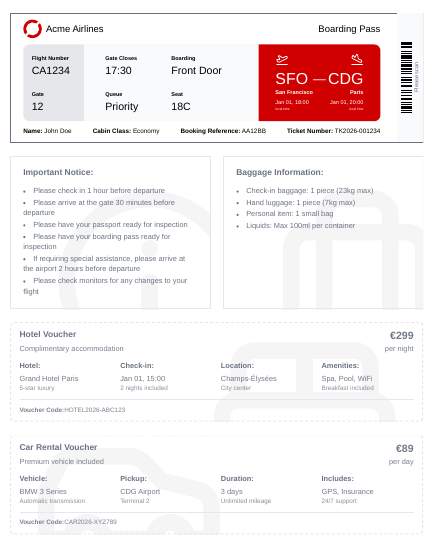
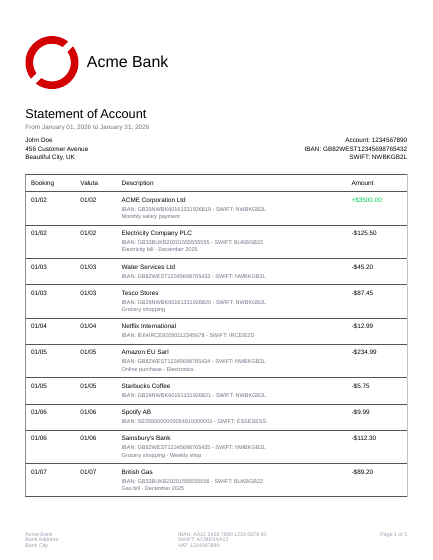
Default templates are starting points, professionally designed examples such as invoices, e-invoices, bank statements, reports, and tickets. They exist so you can see what is possible and get a head start, but they are maintained by PolyDoc and may change at any time.
User templates are your own. Each one receives a unique short ID (e.g. a1b-c2d) that you reference in API calls. You have full control over the content, styles, header, footer, and default options.
Built-in template examples
Sample exports from the default templates (placeholder data). Previews show the first page of each PDF; click to open the full file.

Duplicating and creating templates
You can create a user template in two ways:
- From scratch — click New Template in the Dashboard and build your own HTML, styles, header and footer.
- Duplicate a default — pick a default template and click Duplicate. This copies the content, styles, header, footer, and default options into a new user template that you can customize.
Template Structure
Every template consists of up to four parts:
| Part | Purpose | Applies to |
|---|---|---|
| Content | Main HTML body of the document | PDF + Screenshot |
| Header | HTML shown at the top of every PDF page | PDF only |
| Footer | HTML shown at the bottom of every PDF page | PDF only |
| Styles | CSS applied to the main content | PDF + Screenshot |
Additionally, each template can define Default Options — a JSON object with default API parameters (margins, page format, viewport size, etc.). These are merged with the options you send in each request, where request-level values take priority.
Header and Footer (PDF only)
Headers and footers are rendered by the browser's print engine in a separate context from the main content. This has a few important implications:
- They do not share CSS with the main content. Any styles you need in the header or footer must be defined as inline
<style>blocks within the header/footer HTML itself. - Header and footer do share styles with each other — a
<style>block in the header is also available in the footer, and vice versa. - Header/footer styles are not subject to Content Security Policy (CSP) restrictions, so inline styles always work.
- When using headers or footers, you need to account for their height in your page margins. For example, an invoice header of approximately 2.5 inches requires setting
"layout": { "margin": { "top": "2.8in" } }to prevent content from overlapping.
Examples
This header shows the company logo, address, invoice details, and page numbers. Note the inline <style> block — required because the header does not inherit styles from the main content.
<html>
  <head>
    <style>
      body { font-family: "Open Sans", sans-serif; }
      * { font-size: 16px; }
      .header { margin: 1cm 1cm 0; }
      .flex { display: flex; }
      .justify-between { justify-content: space-between; }
      .text-xs, .text-xs * { font-size: 0.75rem; }
      /* ... more utility classes as needed ... */
    </style>
  </head>
  <body>
    <div class="header flex justify-between">
      <div>
        <img src="data:image/svg+xml;base64,..." />
        <div>Acme Inc.</div>
        <div class="text-xs">123 Main St, Anytown, USA</div>
      </div>
      <div>
        <div>Invoice</div>
        <div class="text-xs">
          Page: <span class="pageNumber"></span>
          of <span class="totalPages"></span>
        </div>
      </div>
    </div>
  </body>
</html>
A simple footer strip with company info. It automatically appears at the bottom of every page.
<html>
  <body>
    <div style="display: flex; justify-content: center;
                border-top: 1px solid #e0e0e0;
                padding-top: 0.75rem; margin-top: 0.75rem;
                font-size: 0.625rem; color: #99a1af; gap: 0.5rem;">
      Acme Inc. · 123 Main St · Anytown, USA
      <div style="border-left: 1px solid #99a1af;
                  border-right: 1px solid #99a1af;
                  padding: 0 0.5rem; margin: 0 0.5rem;">
        <a href="https://www.acme-inc.com">www.acme-inc.com</a>
      </div>
      VAT: 1234567890
    </div>
  </body>
</html>
Using Templates via API
To use a template, set the source parameter to a template reference in the format [template:xxx-yyy], where xxx-yyy is the template's short ID. You can find the short ID on the Templates page of the dashboard.
Pass dynamic values through the templateData object. Every key in templateData becomes available as a Liquid variable inside the template.
{
  "source": "[template:a1b-c2d]",
  "templateData": {
    "invoice_number": "INV-2026-042",
    "invoice_date": "2026-03-15",
    "invoice_due_date": "2026-04-14",
    "customer_name": "Jane Smith",
    "customer_street": "789 Oak Avenue",
    "customer_city": "Springfield",
    "customer_country": "US",
    "invoice_subtotal": 1500,
    "invoice_tax_rate": 0.08,
    "invoice_tax_amount": 120,
    "invoice_total": 1620,
    "items": [
      {
        "quantity": 5,
        "name": "Consulting Hours",
        "description": "Technical architecture review",
        "price": 200
      },
      {
        "quantity": 1,
        "name": "Project Setup",
        "price": 500
      }
    ]
  }
}
Option merging
Templates can store default options such as page margins, format, or viewport dimensions. When you make an API request, the options are merged in this order:
- Template defaults are applied first (e.g., margins defined in the template's Options tab).
- Request-level options override any matching template defaults.
For example, if a template defines "layout": { "margin": { "top": "2.8in" } } and your request also specifies layout.margin.top, the request value wins. Options not specified in the request fall back to the template defaults.
The E-Invoice template
One default template behaves differently from the rest: the built-in E-Invoice template, the starting point for compliant ZUGFeRD and Factur-X invoices. When you send an eInvoice payload, its invoice object replaces templateData.invoice, so the visible PDF and the embedded machine-readable XML are always generated from the same data and can never disagree.
Everything else on this page still applies: you duplicate it, edit the content, header, footer, and styles, and reference it by short ID. The full data flow, the sibling templateData.company key for statutory footer details, and a step-by-step walkthrough live in the e-invoice guide.
Liquid Templating
Templates use Liquid as their templating language. Every key in the templateData object you send with the API request becomes a variable you can reference in the template's content, header, and footer.
Output a value with double curly braces. Dot notation accesses nested properties.
<!-- Simple variable -->
<h1>Invoice {{ invoice_number }}</h1>

<!-- Nested property -->
<td>{{ item.name }}</td>

<!-- Combining variables -->
<div>{{ customer_name }}, {{ customer_city }}</div>
Iterate over arrays with {% for %}. This is the core pattern for rendering line items, transactions, or any list of records. The example below — from the invoice template — loops over an items array and renders a table row per line item, including an optional description and computed total.
{% for item in items %}
<tr>
  <td>{{ item.quantity }}</td>
  <td>
    <div>{{ item.name }}</div>
    {% if item.description %}
    <div class="text-gray-400">{{ item.description }}</div>
    {% endif %}
  </td>
  <td>${{ item.price | round: 2 }}</td>
  <td>${{ item.price | times: item.quantity | round: 2 }}</td>
</tr>
{% endfor %}
Use {% if %} to show or hide content based on the data. You can also check string content with contains.
<!-- Show a field only when present -->
{% if item.description %}
<div class="text-gray-400">{{ item.description }}</div>
{% endif %}

<!-- Check string content (e.g. negative amounts in a bank statement) -->
{% if transaction.amount contains "-" %}
<span class="text-red-500">{{ transaction.amount }}</span>
{% else %}
<span class="text-green-500">+{{ transaction.amount }}</span>
{% endif %}
Filters transform values using the pipe (|) operator. Multiple filters can be chained.
<!-- Math: round, multiply -->
${{ item.price | round: 2 }}
${{ item.price | times: item.quantity | round: 2 }}
Tax ({{ invoice_tax_rate | times: 100 }}%)

<!-- Dates: format a date string -->
{{ invoice_date | date: "%B %d, %Y" }}
{{- "- Output: March 15, 2026" }}

{{ transaction.booking_date | date: "%m/%d" }}
{{- "- Output: 03/15" }}

<!-- Default: fallback when a value is missing -->
{{ notes | default: "No additional notes" }}